Stick it to the Scan
- thelastmccoylibrary

- Dec 10, 2021
- 3 min read
Updated: Jan 20, 2022
After organizing the older photographs and getting them settled into their preservation sleeves, digitization loomed. Scanners that produce preservation quality files are not something one casually buys to use at home. Printer-scanner combos won't cut it either. You're average all-in-one printer scans around 300 dpi (dots per inch). But preservation of photographs calls for 600 dpi. So I started searching for scanners available to me at no extra cost through my local libraries.
First, let's talk about what's important in a scanner when concerned with digital preservation. The scanner should create high resolution image files. This means it creates images with 4000 to 6000 pixels along the long edge of the photograph. It should also be capable of scanning at 48-bit color. This means it picks up more shades of colors that provide more details from the original photograph, although 24-bit is also acceptable. Finally, it should have multiple file outputs: PDFs, JPEGs, PNGs, TIFFs. TIFF files or Tagged Image File Formats, are important for preservation as they do not compress the information (possibly losing some) and comes in a non-proprietary format. I.E. if Adobe goes out of business you might not be able to operate your PDFs, but TIFF is non-proprietary and open so it will pretty much always be available for use.
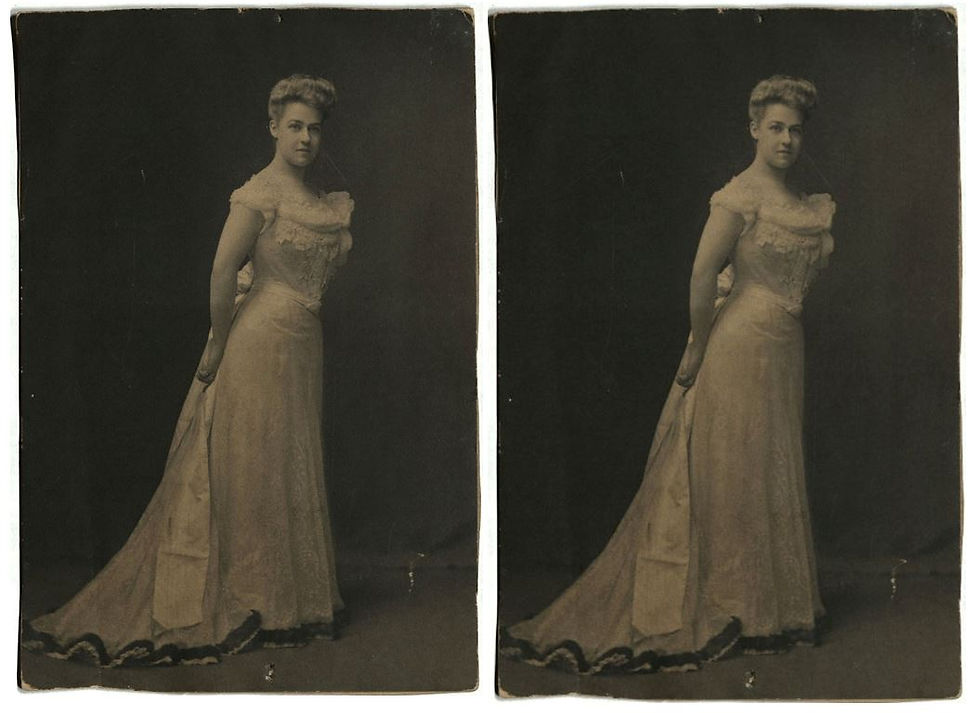
Here is the same photograph at different resolutions:

Image 1 - Lucy Cherry stands for a portrait in a dress. The first photograph is at 600 dpi with 2480 x 3634 pixels. The second photograph is at 50 dpi with 410 x 600 pixels. Through the website, the differences may not be as noticeable depending on the monitor, but the first photograph provides better clarity of the lace pattern and hair.
The first scanner I found was a ScannX Book ScanCenter in the university library. It is a flatbed scanner, much like those for all-in-one printers. It scans at 600 dpi and 24-bit color with TIFF file outputs when configured. It can hold documents up to 11.8x17 inches. I scanned a few photographs using this scanner, but it couldn't transfer the photographs to my external hard drive, needing a memory stick instead. So I was forced to email them to myself, which drastically reduced the quality. The scanner also produced photos with a wildly different color profile that was not as true to the original photograph. This can be seen below.

Image 2 - Lucy Cherry stands for a portrait in a dress. This photograph was scanned using the ScannX Book ScanCenter. It is much darker and more yellow in tone than the previous photographs. This photograph is at 300 dpi with 1251 x 1834 pixels.
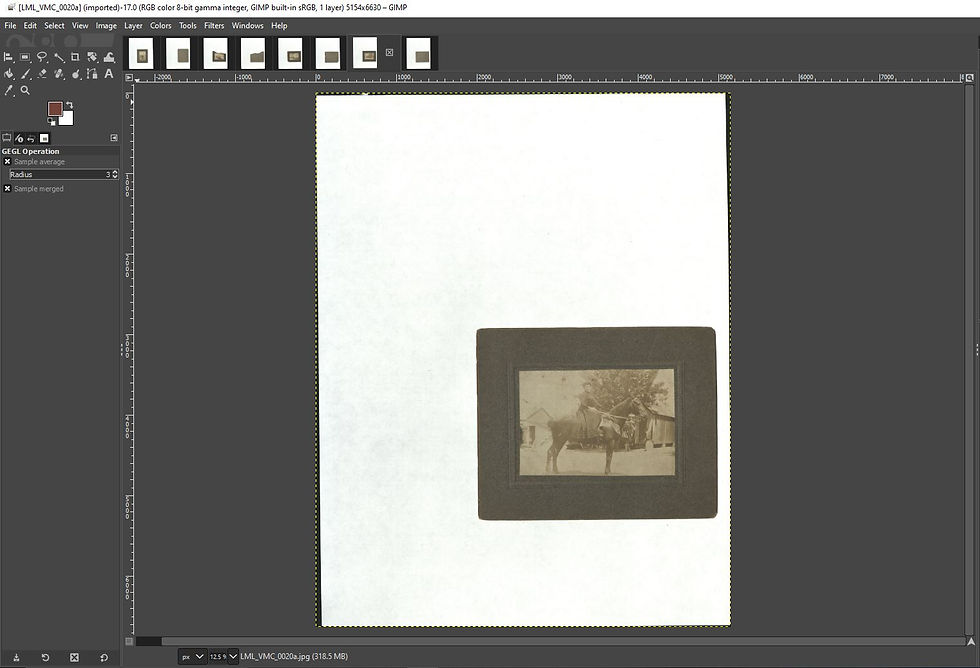
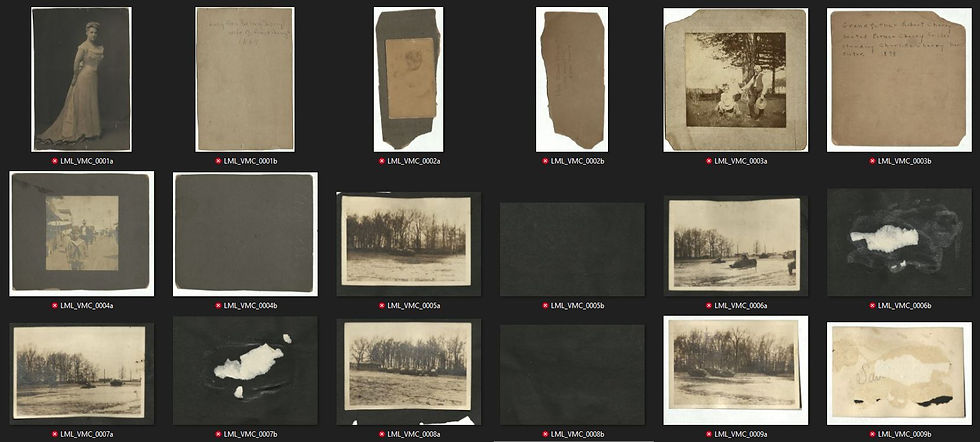
The second scanner I found for use was a BookEye 4 V1A in the law library where I work. This baby is an overhead scanner used to digitize law review books for online access. It also scans at 600 dpi and 48-bit color with TIFF file outputs when configured. It can hold documents up to 25x33.5 inches. It also has an adjustable book cradle and file editing capabilities built in to the system. It allowed upload of everything directly to my external hard drive. In approximately 30 minutes, I scanned sixty-eight photographs front and back. These scans resulted in the first set of images, which were truer to the original photographs and at a higher resolution.
So the BookEye 4 V1A will serve as the scanner for the Last McCoy Library as long as it is available to me. I've currently scanned 68 photographs front and back. These photographs will be included in the Vintage McCoy Collection and the Scott McCoy Collection.


Comments